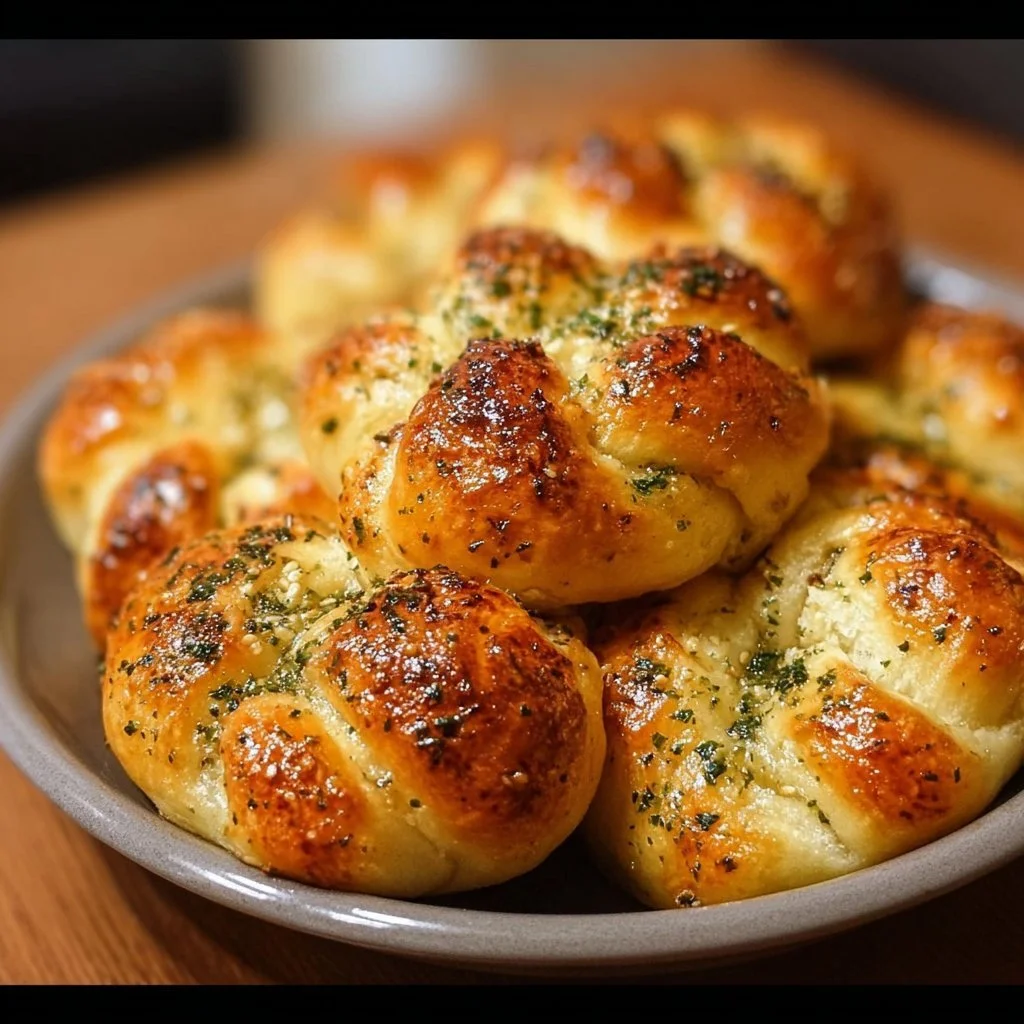
Gluten Free Garlic Knots
The Irresistible Aroma of Freshly Baked Garlic Knots
There’s something truly magical about the smell of garlic knots wafting through your kitchen. But what if I told you that you can indulge in this cheesy, buttery goodness without the gluten? These Gluten Free Garlic Knots are so fluffy and flavorful, you might just forget they’re a healthier alternative! Imagine tucking into a warm knot, the buttery, garlic-infused goodness literally melting in your mouth—heavenly, isn’t it?
Why Make This Recipe
Why would you want to whip up these adorable little knots? Well, for starters, they’re incredibly easy to make! With just a few basic ingredients, you’ll have a delicious appetizer or side dish in no time. Plus, they’re family-friendly; trust me, kids will eat them up faster than you can say “gluten-free.”
And to top it off—they’re excellent for your next movie night or cozy dinner because who doesn’t love carbs dipped in butter? 😋
Ingredients:
You don’t need fancy stuff—just these basics!
- 2 cups gluten-free all-purpose flour
- 2 tsp active dry yeast
- 3/4 cup warm water (110°F / 43°C)
- 2 tbsp olive oil
- 1 tsp garlic powder
- 1/4 cup chopped fresh parsley
- 2 tbsp melted butter
- Flaky sea salt (to taste)
Directions:
Ready to get baking? Just follow these simple steps:
- Preheat your oven to 400°F (200°C).
- In a bowl, combine the warm water and yeast; let it sit until frothy (about 5 minutes).
- Stir in the gluten-free flour, olive oil, garlic powder, and salt until a sticky dough forms.
- Transfer the dough to a floured surface and knead gently for about 2 minutes.
- Divide the dough into ten equal pieces, rolling each into a rope and tying into knots.
- Place the knots on a greased baking sheet and let them rise in a warm place for 20 minutes.
- Brush melted butter over each knot, sprinkle with parsley and salt, then bake for 15 minutes or until golden brown.
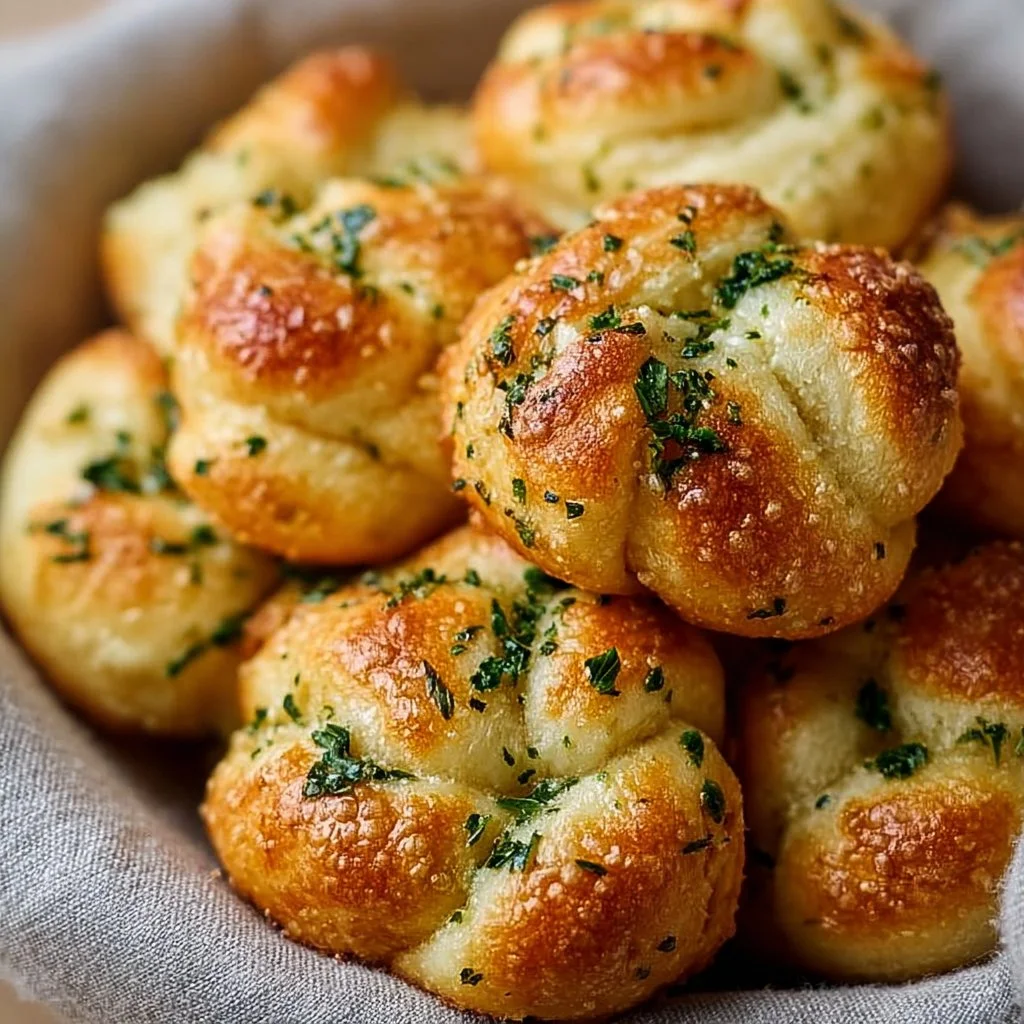
How to Make Gluten Free Garlic Knots (Overview)
Making these knots is a breeze! Start by activating the yeast, which adds a delightful fluffiness. While the dough rises, you can perfect your knot-tying skills (seriously, it’s like a mini workout!). After shaping, let them rise again—this will make a big difference in that soft texture you crave. Pro tip: Don’t rush the rising; it’s where the magic happens!
How to Serve Gluten Free Garlic Knots
Want to elevate your serving game? These garlic knots shine when served warm, fresh out of the oven! Pair them with a side of marinara sauce for dipping or a sprinkle of extra chopped parsley for that pop of color and freshness. The sight itself will make anyone drool, and the aroma? Forget about it—everyone will be coming back for more!
How to Store Gluten Free Garlic Knots
If you manage to have any leftovers (which is highly unlikely), store them in the fridge for up to 3 days. Craving them later? Just pop them in the microwave for a quick reheat, or better yet, throw them in the oven for a couple of minutes to get that crispy exterior back. You can also freeze them for up to 3 months—just be sure to wrap them tightly!
Tips to Make Gluten Free Garlic Knots
- Knead gently: Over-kneading can make the dough tough; keep it light and simple.
- Yeast activation: Ensure your water isn’t too hot, or you’ll kill the yeast (and we can’t have that!).
- Flour blends: Experiment with different gluten-free blends to find your favorite texture.
- Add cheese: For a cheesy twist, sprinkle some shredded mozzarella inside before tying those knots.
Variation
Want to spice things up? Add a sprinkle of Italian seasoning or red pepper flakes to the dough for a kick. You can also swap out the fresh parsley for basil to give it a fresh twist. For a vegan version, simply replace butter with olive oil in the brush and skip adding cheese—still just as delicious!
FAQs
1. Can I make these knots ahead of time?
Absolutely! You can prepare the dough and shape the knots, then store them covered in the fridge overnight. Just let them come to room temperature before baking.
2. What gluten-free flour should I use?
A gluten-free all-purpose flour blend works best, but check for one that contains xanthan gum for the right texture.
3. Can I freeze these garlic knots?
Yes! Once cooled, wrap them tightly in plastic wrap and then foil, and they’ll stay fresh in the freezer for up to three months.
📌 Pin this recipe for your next cozy dinner night!
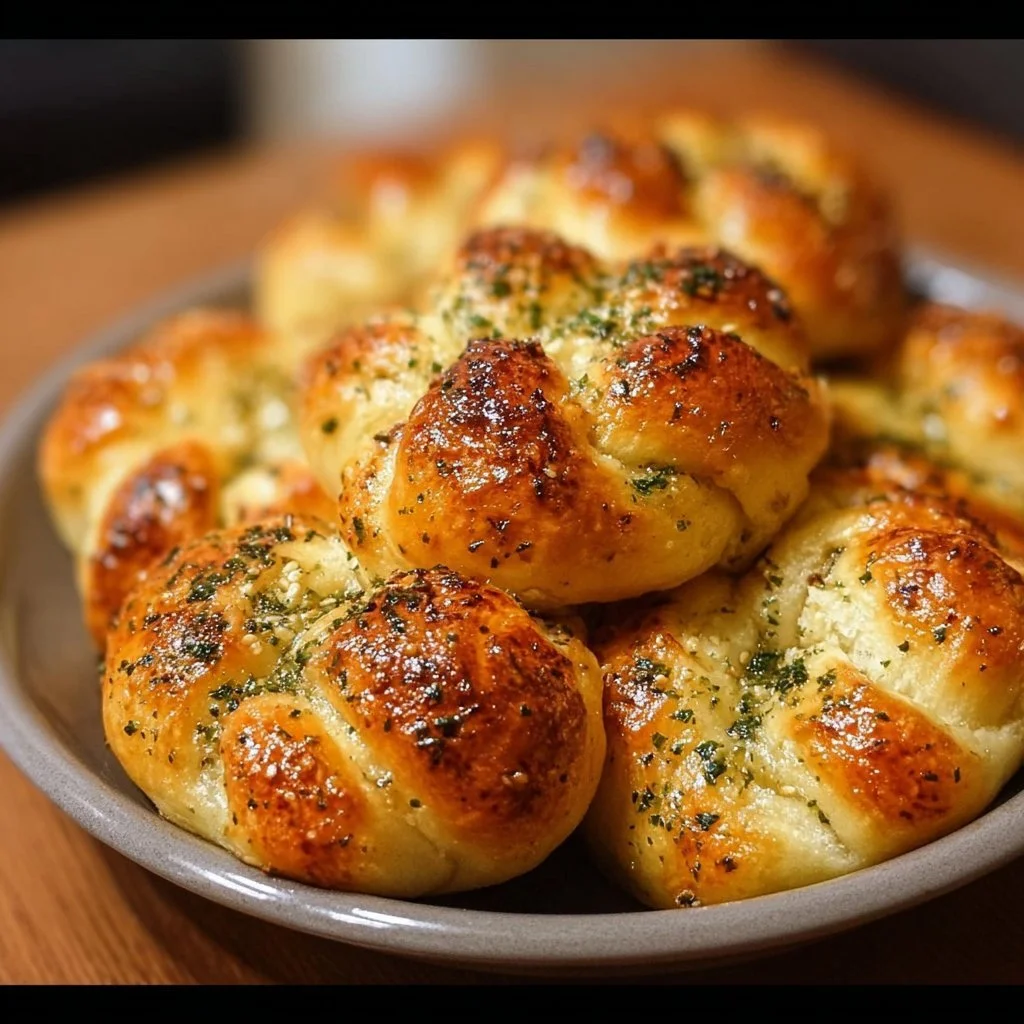
Gluten Free Garlic Knots
Ingredients
Method
- Preheat your oven to 400°F (200°C).
- In a bowl, combine the warm water and yeast; let it sit until frothy (about 5 minutes).
- Stir in the gluten-free flour, olive oil, garlic powder, and salt until a sticky dough forms.
- Transfer the dough to a floured surface and knead gently for about 2 minutes.
- Divide the dough into ten equal pieces, rolling each into a rope and tying into knots.
- Place the knots on a greased baking sheet and let them rise in a warm place for 20 minutes.
- Brush melted butter over each knot, sprinkle with parsley and salt, then bake for 15 minutes or until golden brown.